之前就有想自己動手做一個類似 Adobe Fonts (原TypeKit) 或 TypeSquare 這樣根據頁面內容實時產生字體子集 (Dynamic Font Subsetting) 的 WebApp。但沒有專業的 coding 知識似乎很難實現,不過現在有了 ChatGPT 這個似乎什麼都可以做的 AI,尤其是可以根據聊天的指示去寫 code 這個功能,那不如來試着問 ChatGPT 幫手寫一個好了。
想法實現和工具
於是新開一個 chat 開始了對話,當問題比較 general 的時候它的回答也很 general:
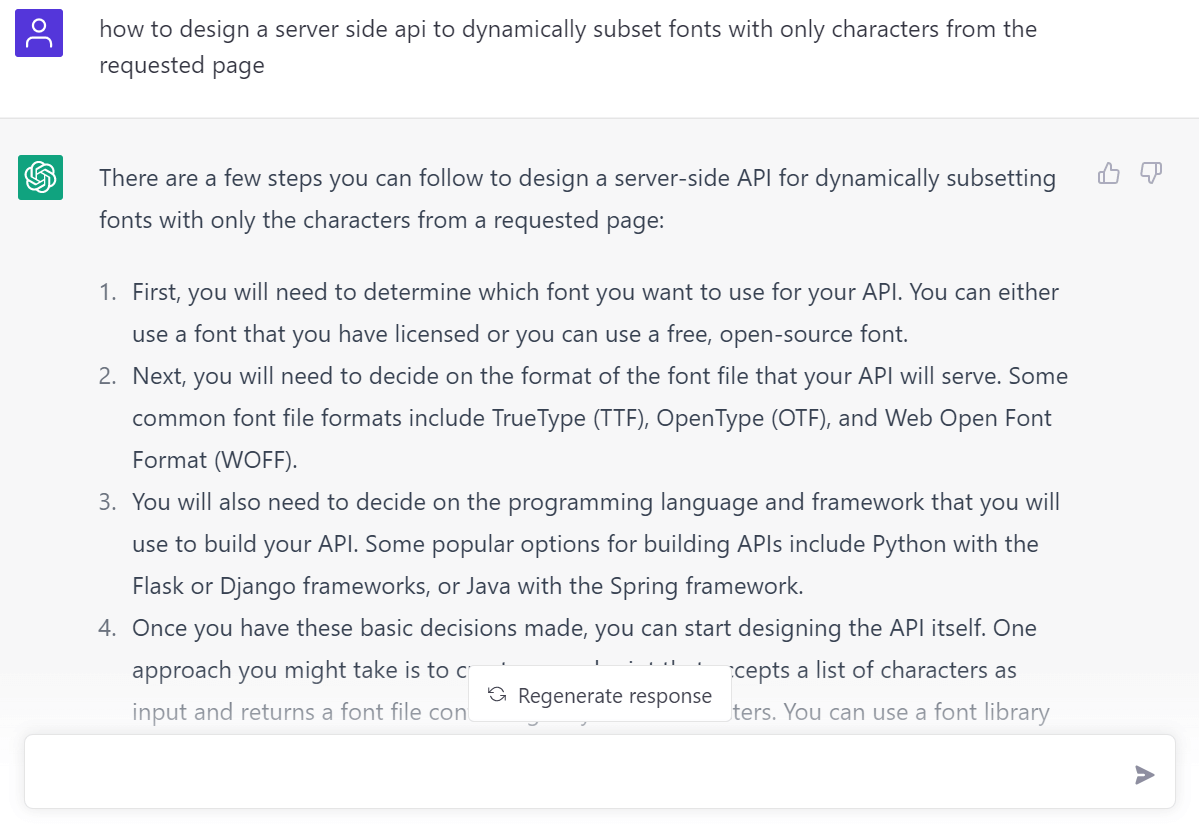
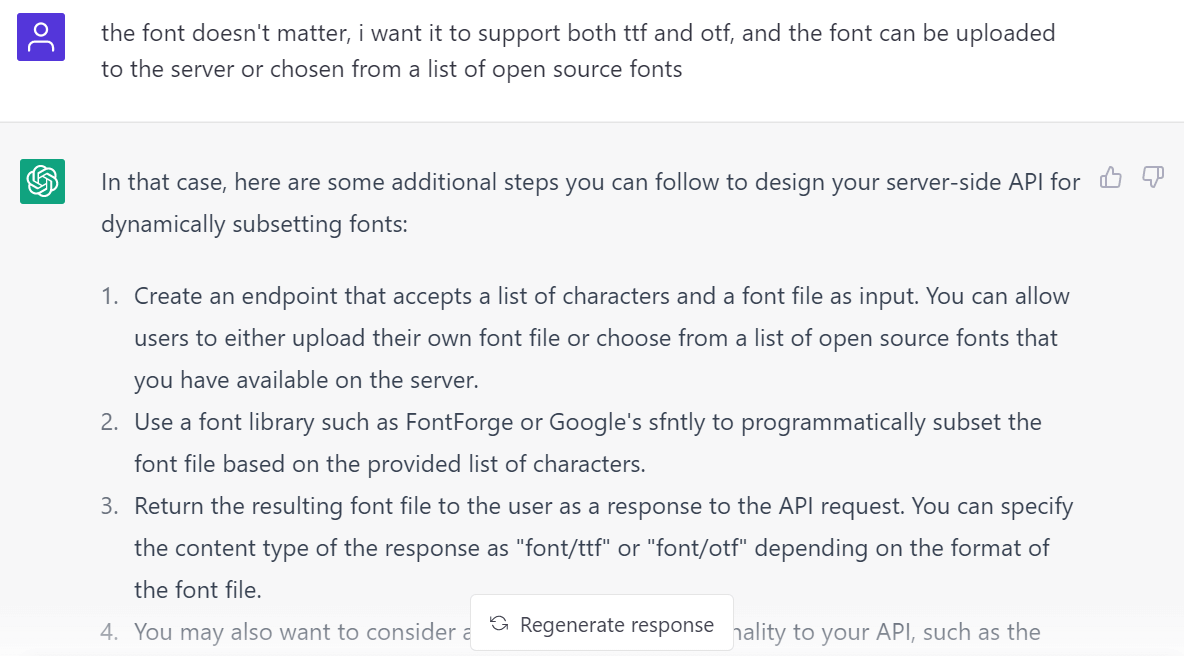
給出更具體的需求之後,它開始推薦一些具體的工具如 Google’s sfntly 和 woff2 及詳細的設計思路:
然而它推薦的這兩個都不太熟悉於是繼續詢問 fonttools 怎麼樣:
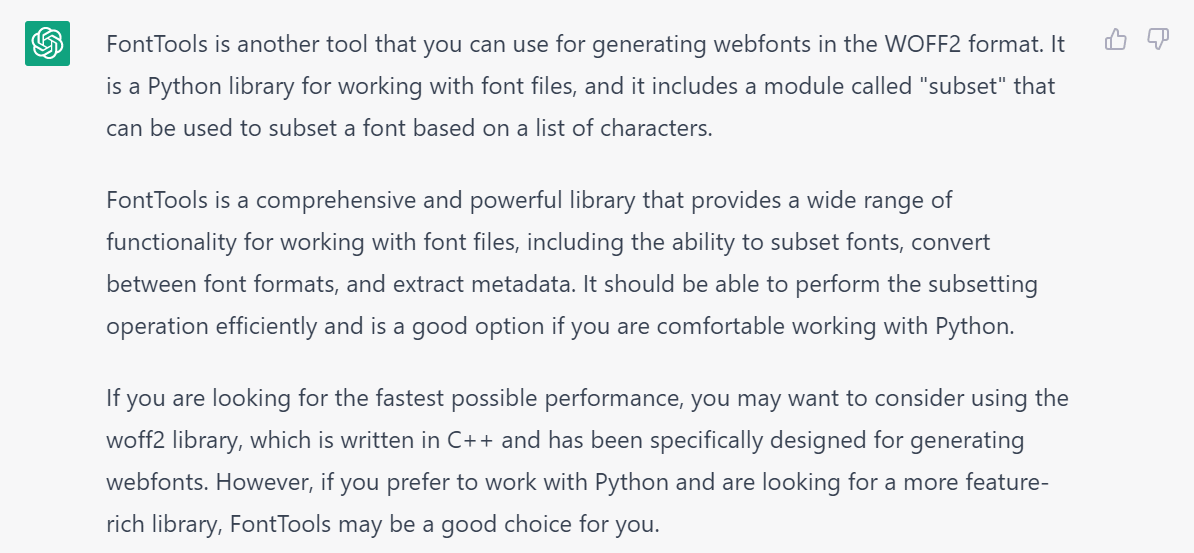
它還是說如果要考慮速度和性能最好用 C++ 的 woff2 不過因爲對 Python 更熟悉所以還是選了 fonttools。
不知道它說的 woff2 是不是 https://github.com/google/woff2,但這個庫已經好多年沒有更新了,相比之下 fonttools 維護和使用的人都更多的感覺。
Anyway 接下來就試着問它去寫具體的 code 了。
Server-side App
首先是設計伺服器端應用 (Server-side App), 它很貼心地給出了安裝方式等步驟同時給出了一段簡單的 code:
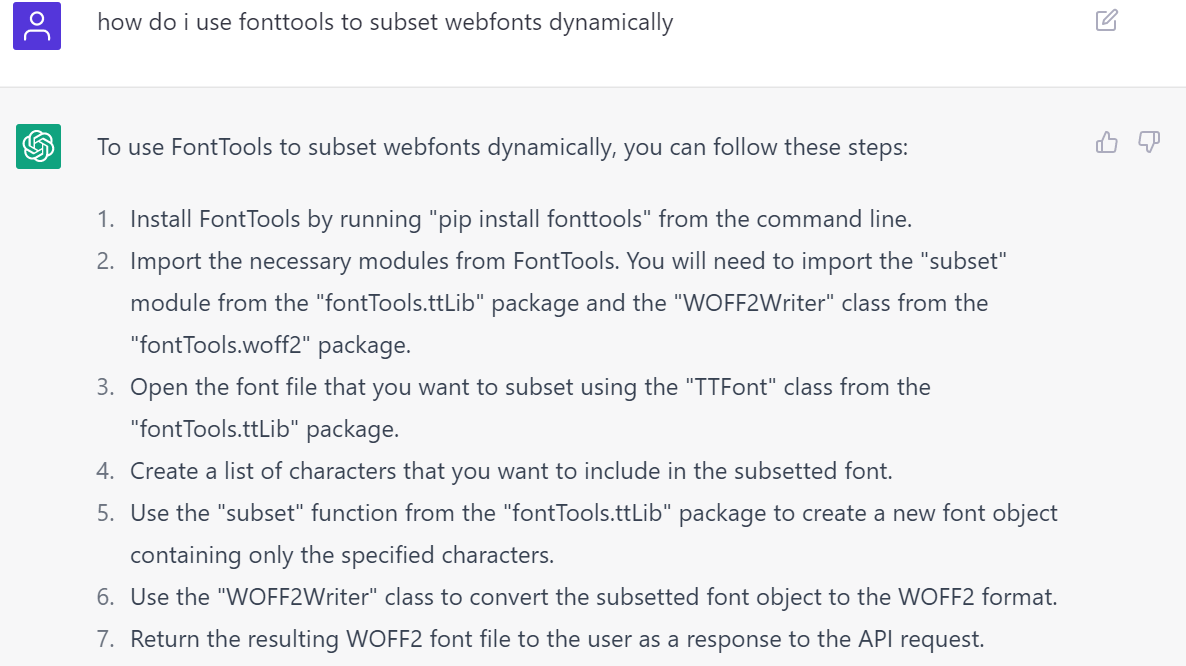
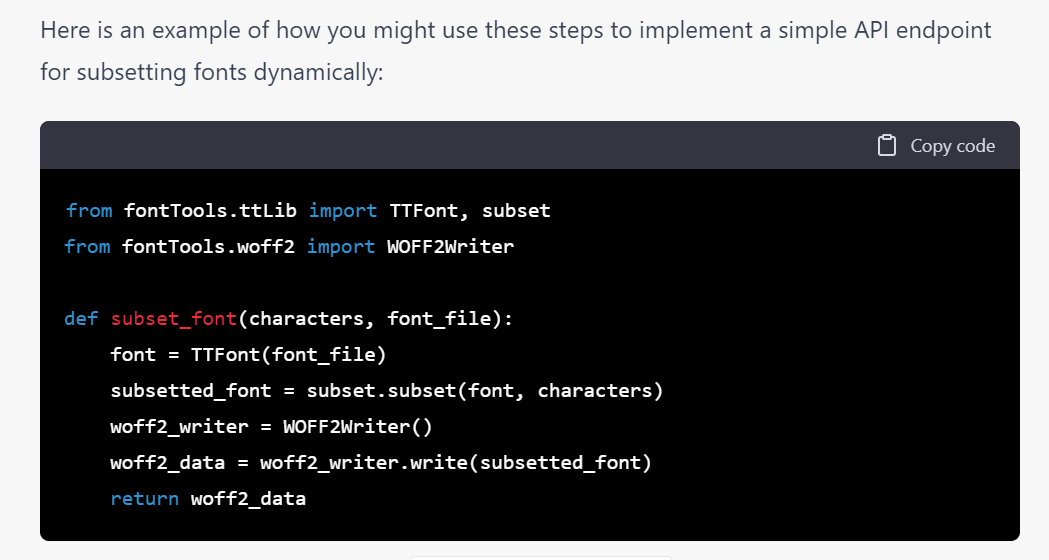
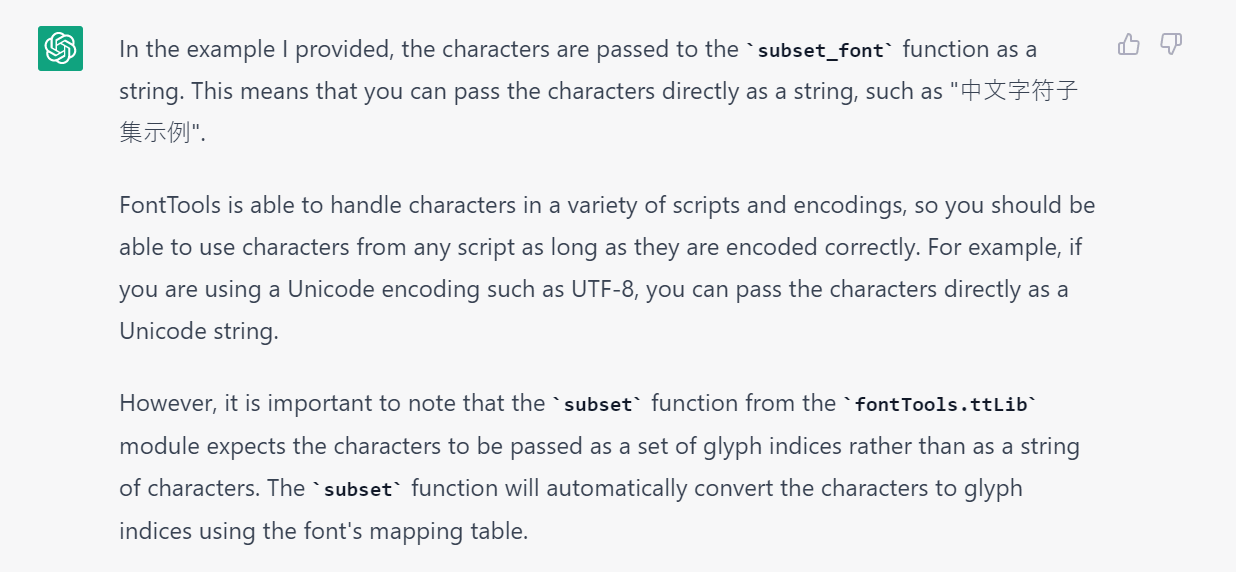
看起來很有道理的樣子,甚至問它 characters 是怎樣處理、能否直接使用字符還是需要轉換時它都回答得很有說服力:
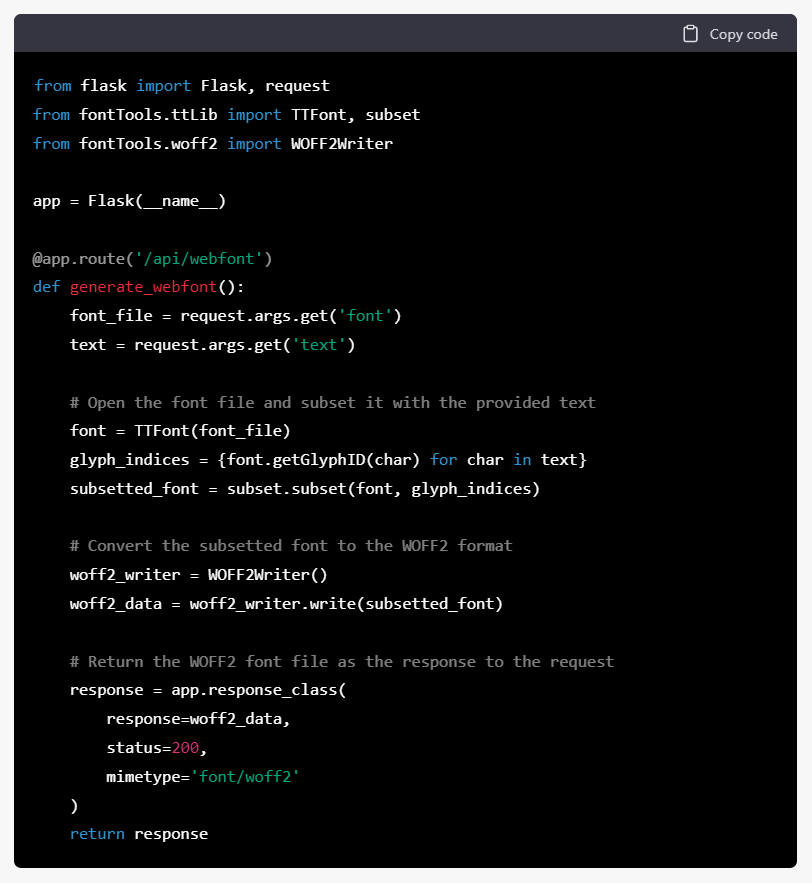
可以直接放文字過去,那豈不是很方便,既然有這麼好的事那不如趕快寫一個能用的 script 出來。於是我又繼續問它,現在我有一台 server, 上面放了 test.ttf, 希望它可以直接寫一個程式出來,當我 call example-domain.com/api/webfont?font=test&text=中文字符子集示例 時就可以直接返回切割好的子集檔案,於是它用 flask 寫了下面的code:
當問到具體怎麼執行時,它還可以教你怎樣用 pip install flask 安裝 flask,怎麼用 python script.py 來執行等很具體的說明,還給出 Nginx 設定的例子,可以說是對新手非常友好。
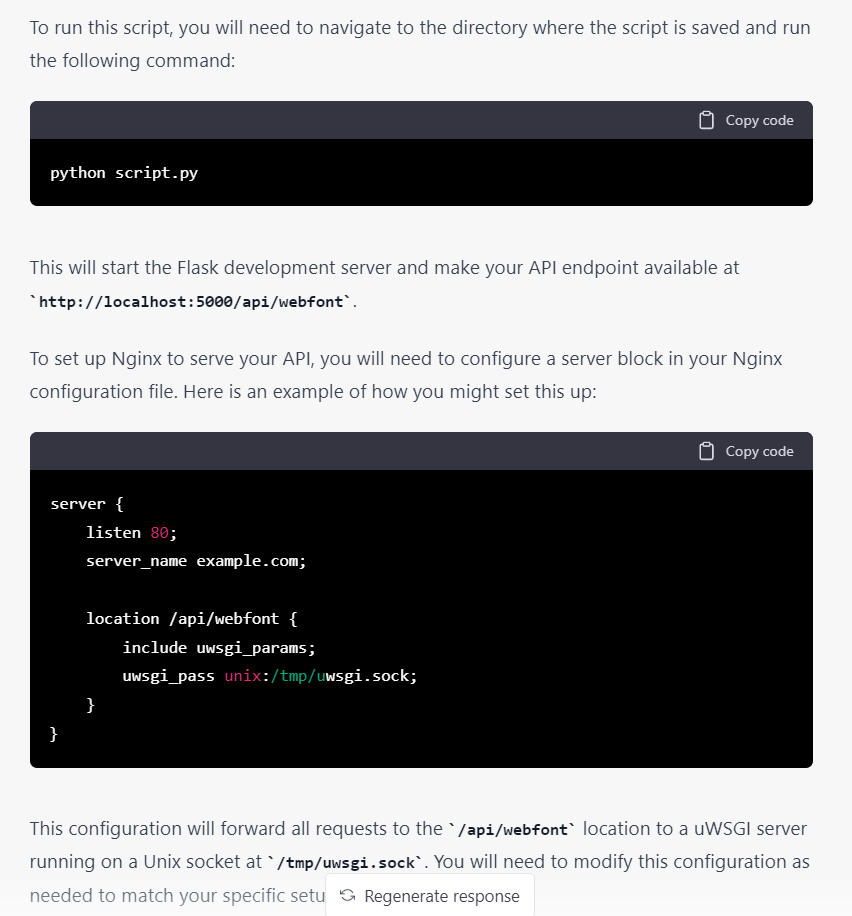
甚至你問它怎樣修改 flask 的端口,設定 Nginx 代理等都可以給出可以直接複製的 code。於是開始信心滿滿地問它添加更多的功能,比如設定 font 屬性以判斷不同的字體檔案:
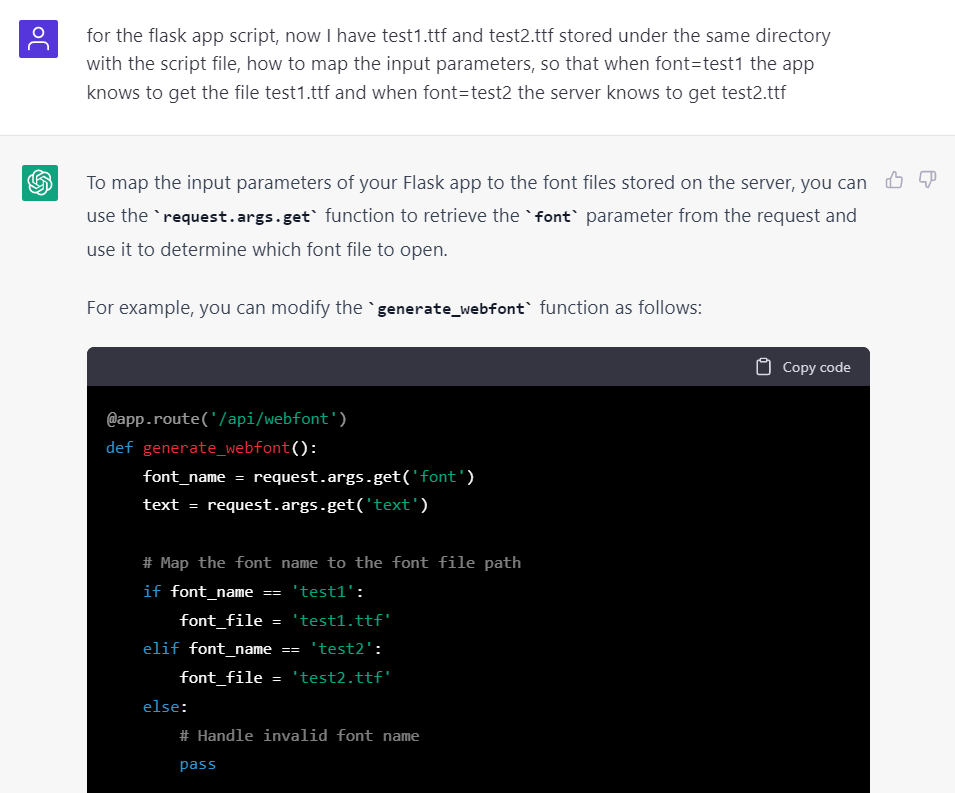
問它給出完整的code之後,看起來不錯,大功告成!趕快來測試一下……
結果啓動之後就報錯 ImportError: cannot import name 'subset' from 'fontTools.ttLib' 了,既然是它寫的 code 那 debug 當然也要問它了:
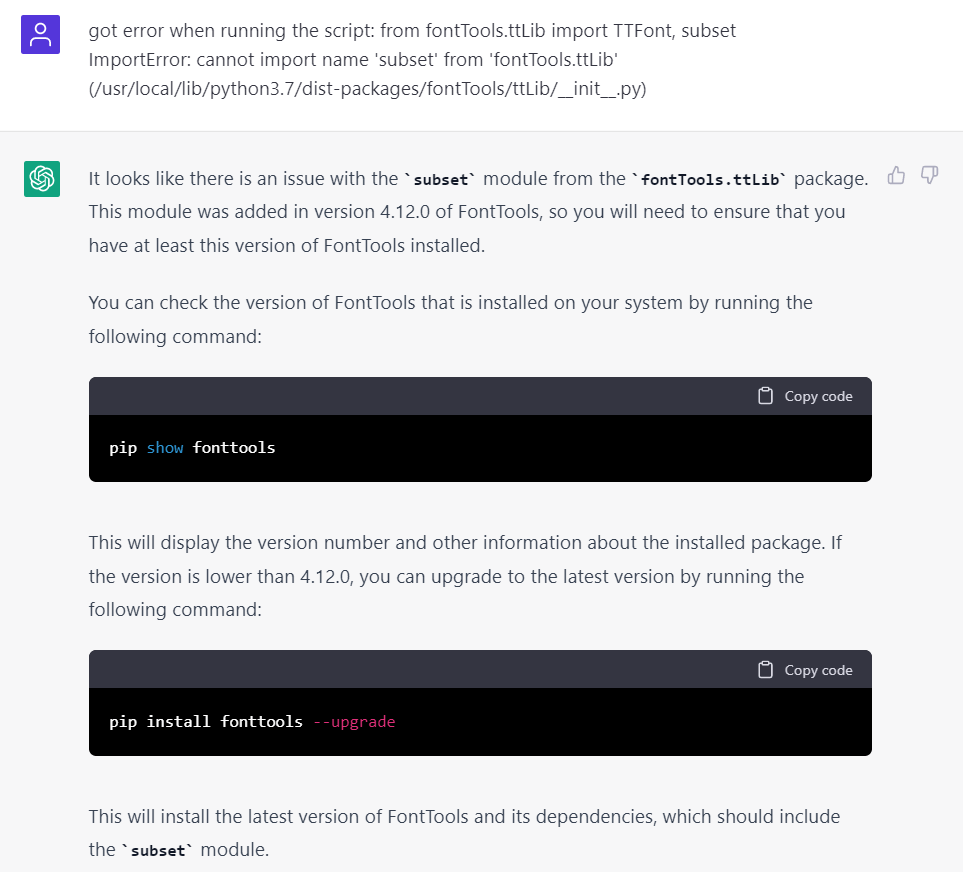
然後他還是特別自信地告訴你可能是你的版本太低還告訴你怎麼去查詢當前版本和升級,當然我的 fonttools 是 4.37.0,顯然這 AI 又在胡說八道了。
Google 之後發現這篇 stackoverflow 問答,再加上官方文檔的一些描述,貌似 fonttools 的 subset 功能是在 command-line 用 pyftsubset 來使用的。比如這篇和這篇都比較詳細地介紹了如何使用 pyftsubset 去生成字體子集。
那把前面的 stackoverflow 中的內容丟給 ChatGPT 它能看懂嗎,由於它一直強調自己無法存取外部資源,所以我複製頁面內容給它:
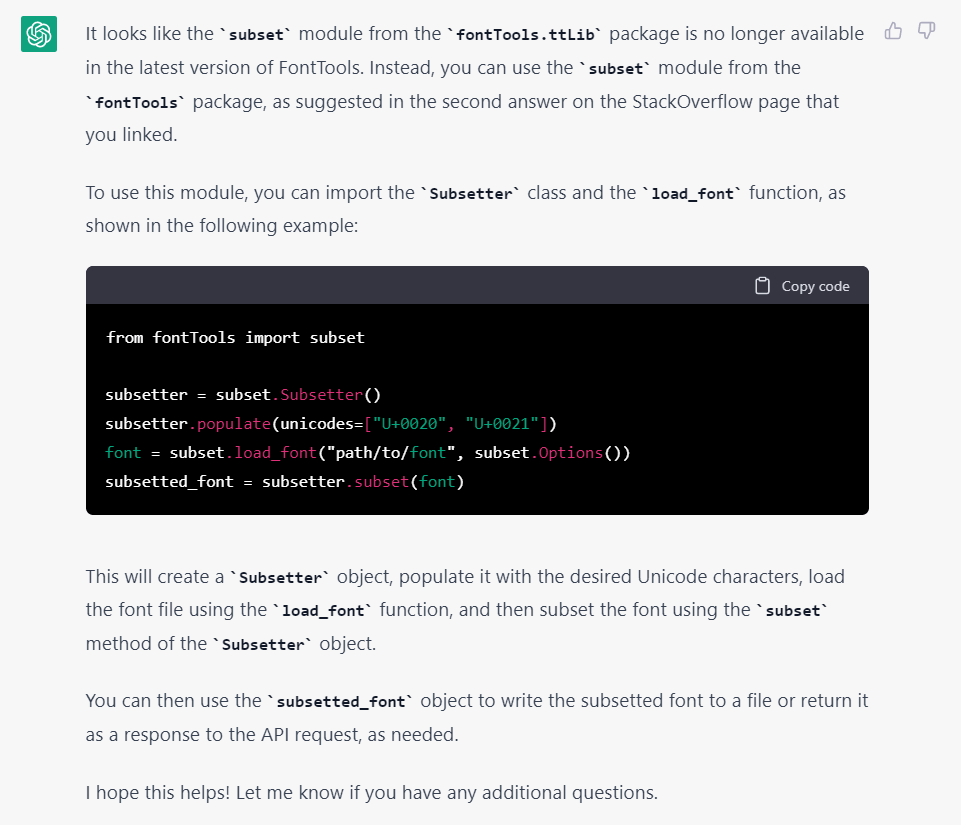
它似乎看懂了並按照第2個回答給出了新的 code。看起來靠譜一些於是讓它給出了新的完整 code,這下啓動沒有報錯了但是開始執行時又出現了問題,把錯誤丟過去它也解釋地頭頭是道:
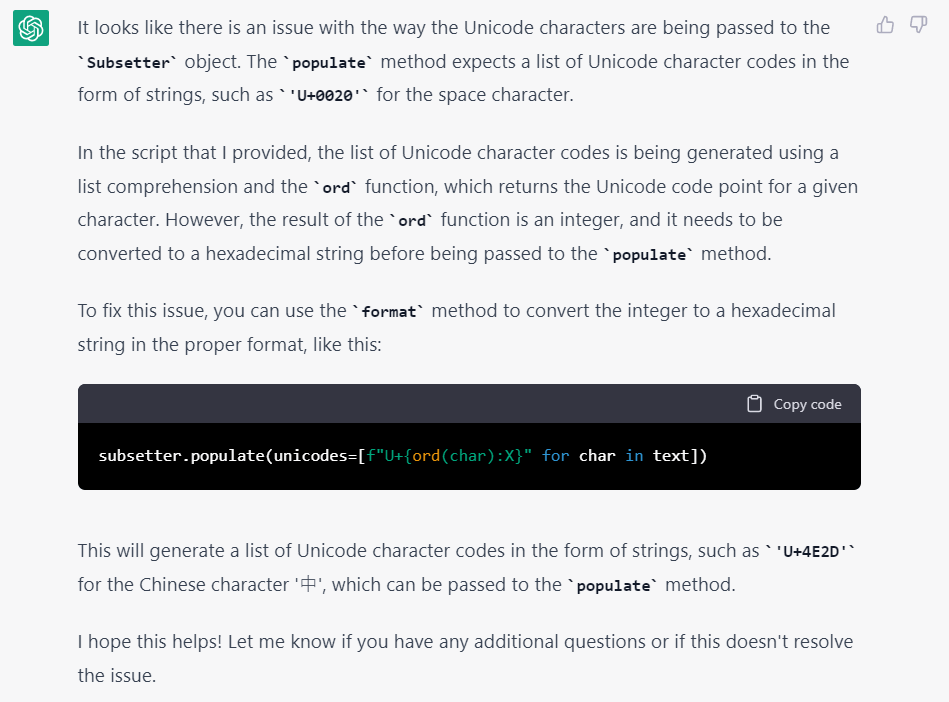
但似乎哪裏有些不對勁…它新給出的解決方案和之前的 code 中那行一個字都不差!
看來這個方法是救不回來了,於是嘗試讓它用 stackoverflow 中的第一個回答重寫,但每次到了 --unicodes 這裏就會出點問題,它自己也很清楚是哪裏出問題了:
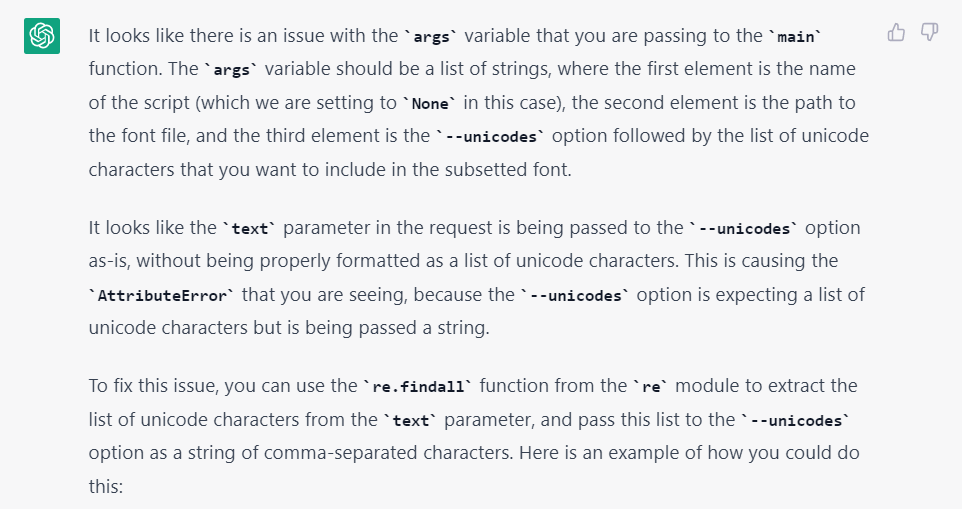
但就是改不好,到後面已經離譜到去提取 text 中的 unicode 字符了😂
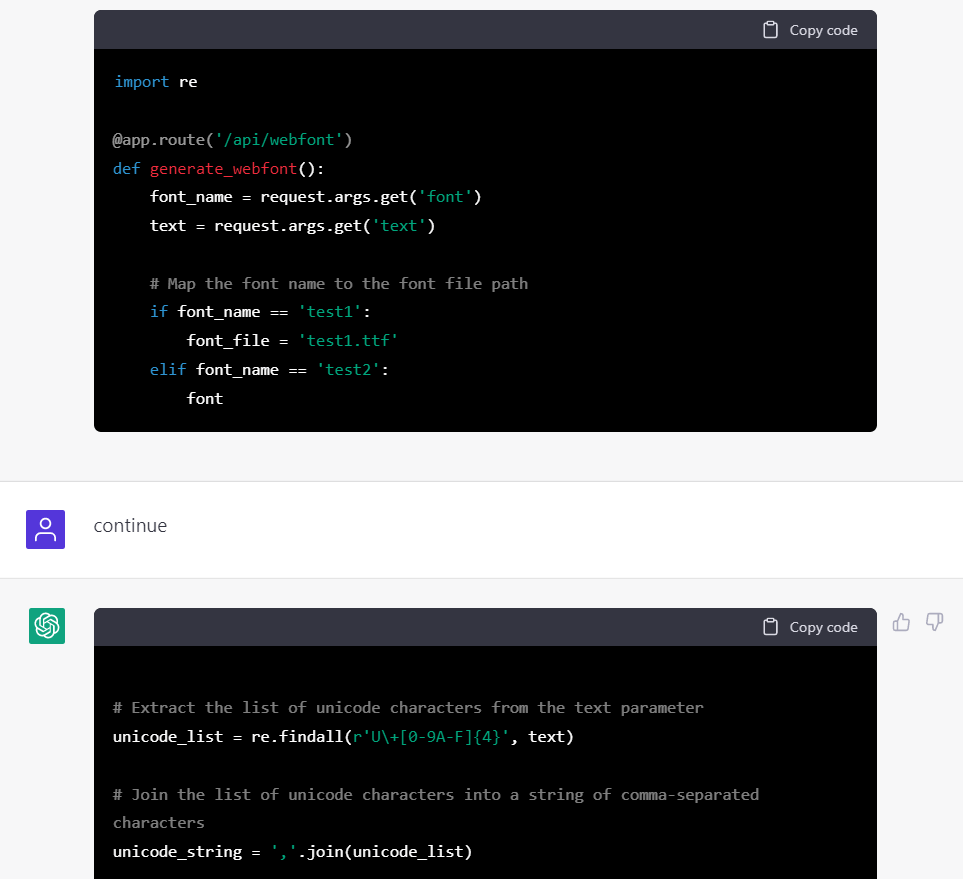
看來不能期望他自己寫好 code 並自己去 debug 了。於是只能放棄從頭開始:
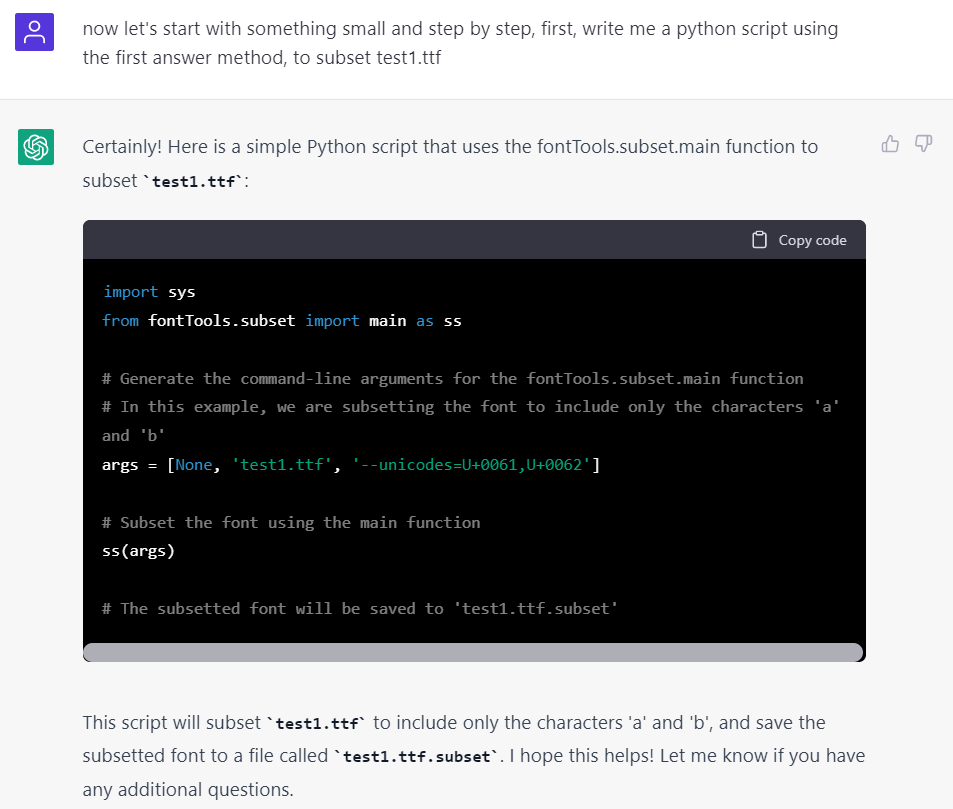
清晰簡單明瞭(應該?),但是這次同樣不能工作,debug 也只是變身複讀機…看來這個 AI 還是哪裏有點不太聰明。
如果直接拿 stackoverflow 上第一個答案是可以 work 的,只不過產生的是 ttf 格式的子集。
import sys
from fontTools.subset import main as ss

sys.argv = [None, '/path/to/font/file.ttf', '--unicodes=U+0020-002F']
ss()  # this is what actually does the subsetting and writes the output file
那不如直接用 pyftsubset 去生成 woff2 的例子好了:
pyftsubset Inter-VariableFont_slnt,wght.ttf --unicodes="U+0020-007F, U+2000-206F, U+2070-209F, U+20A0-20CF, U+2100-214F, U+2200-22FF, U+FB00-FB4F, U+2190-21BB" --layout-features="*" --flavor="woff2" --output-file="Inter.var.woff2"
讓它寫一個執行上面命令的 python code,這次倒是沒有錯誤了,很好,一步一步來……
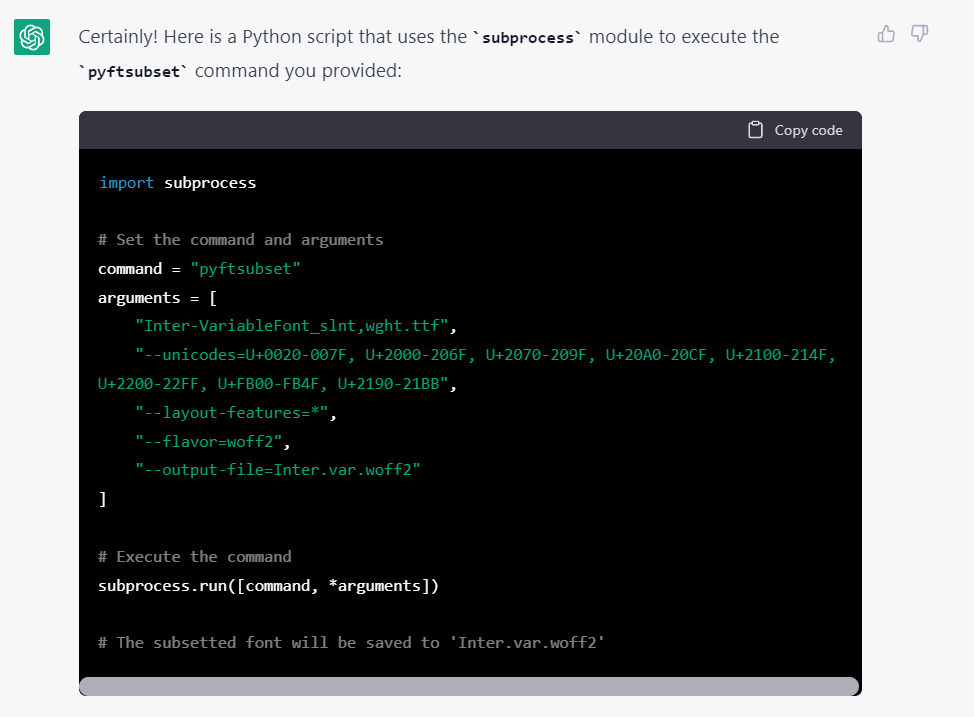
修改 input 和 output 沒有問題:
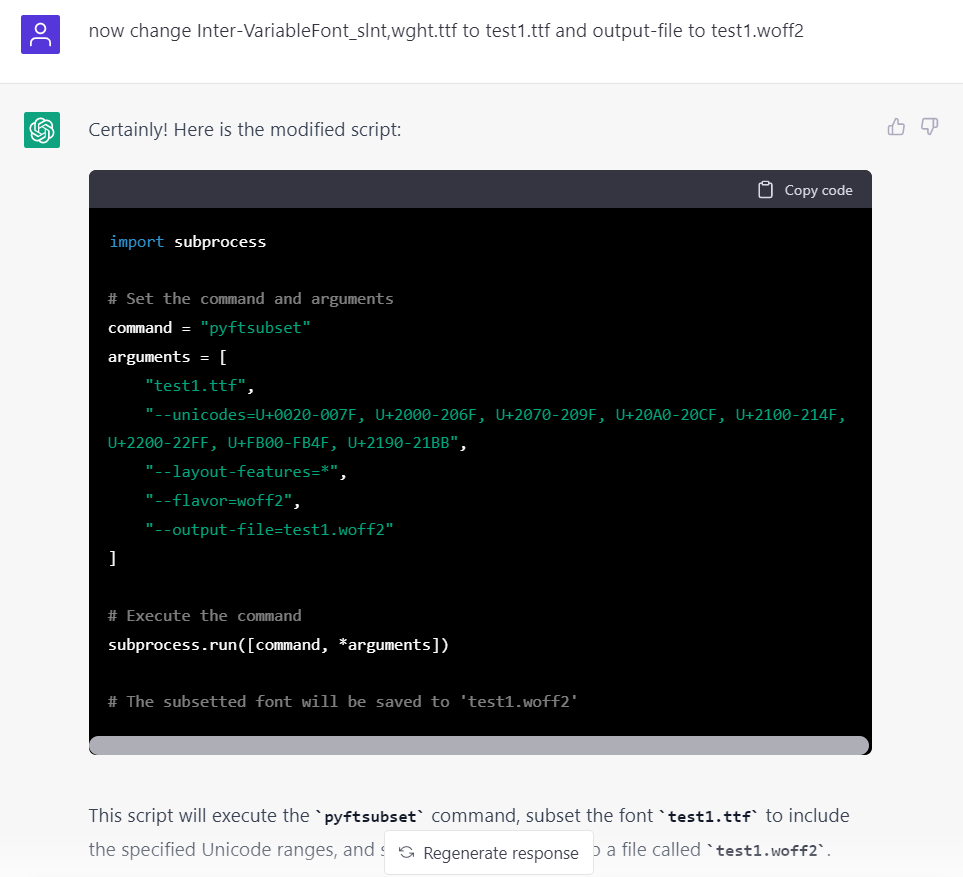
然後寫一個將字符轉爲 unicode-range 的 function:
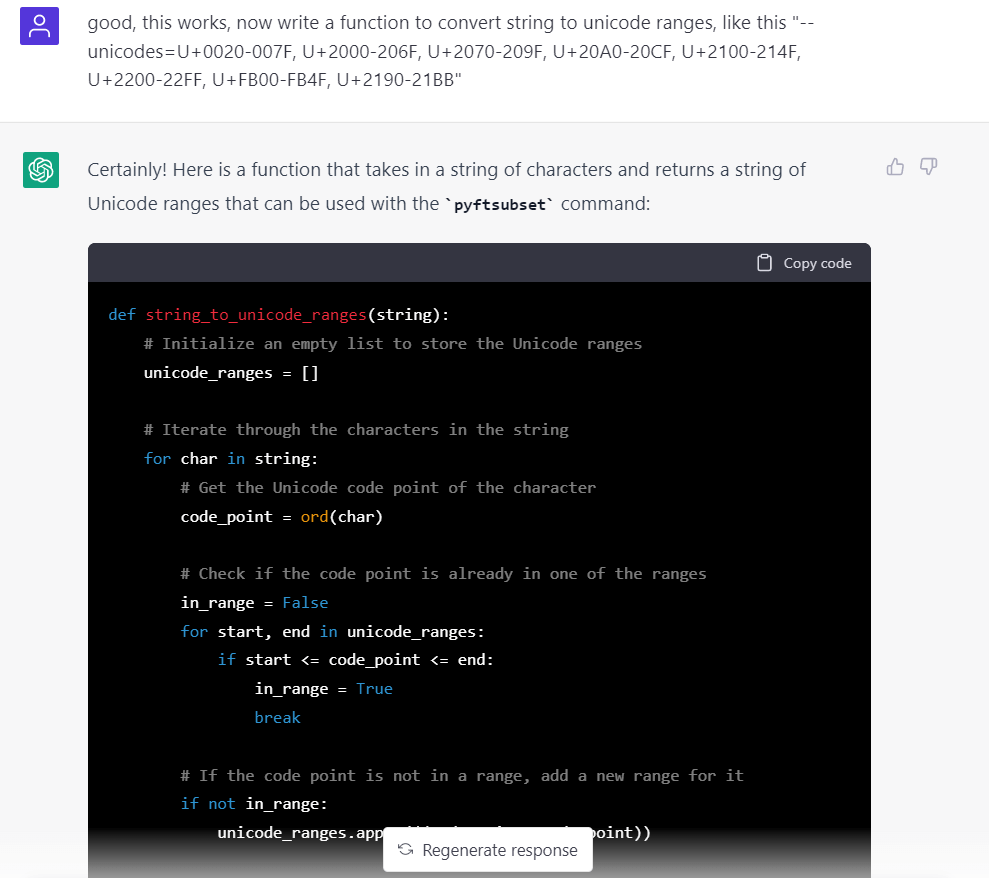
但是第一次理解錯了,寫出來的是這種效果:
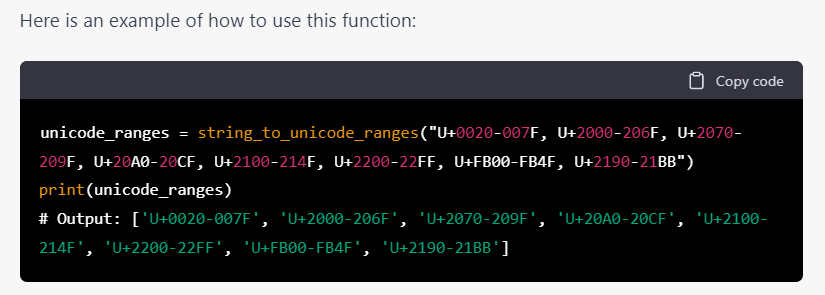

沒辦法,只好繼續苦口婆心地向它說明:
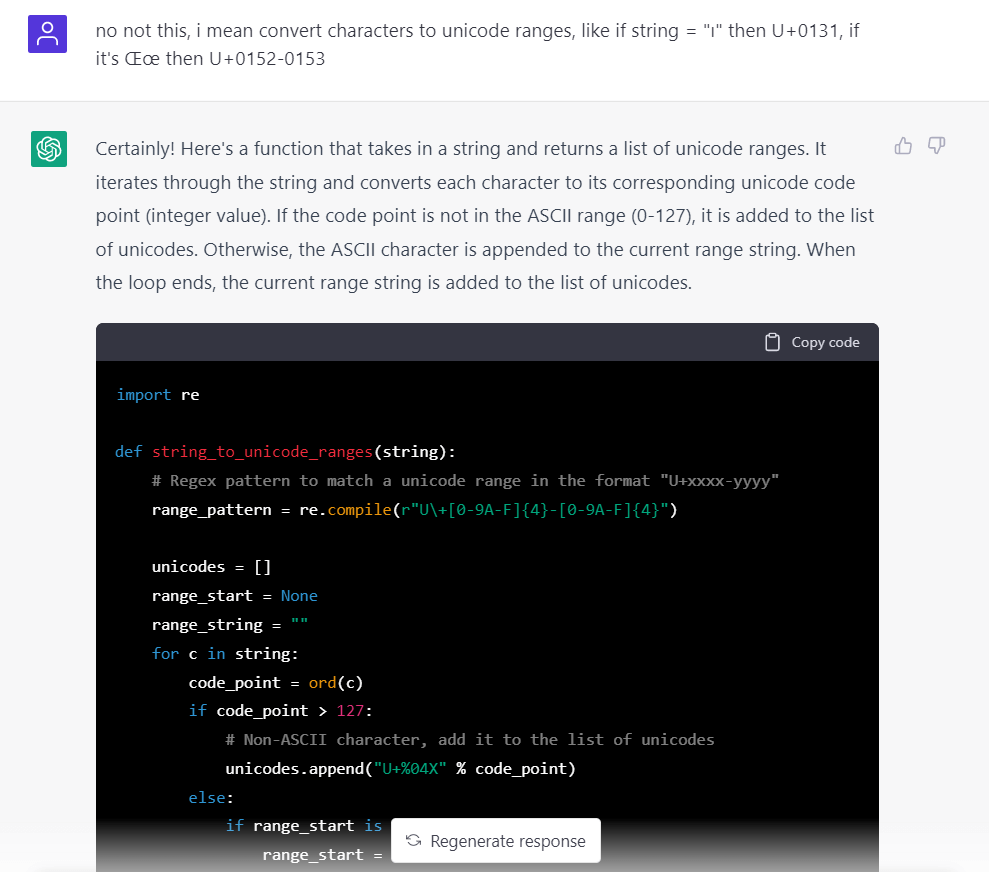
這次終於是想要的效果了,看到了希望🤣
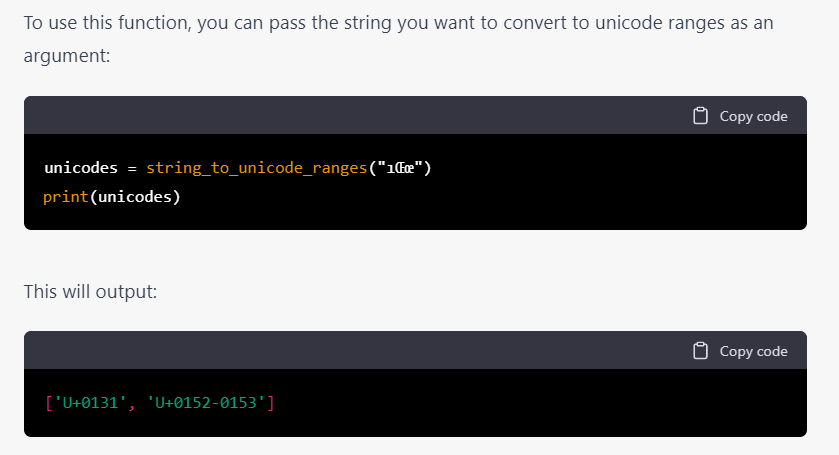
接下來就是將這兩個 function 整合到之前的 flask app 中去,看起來不會有什麼錯了但因爲字數限制每次都不能產生完整的 code,於是只好自己動手去合併,中間還因爲不同 variant 名稱出了幾次錯。
最後可以生成 woff2 檔案了但是 api 返回的卻是 404 not found,等它自己給自己 debug 是沒希望了,於是 Google 到是 app.send_static_file(“test.woff2”) 這一步需要提前設定好 static_folder 路徑:
app = Flask(__name__, static_folder="/path/static_filder_directory")
測試一下發現真的可以用了,實在是讓人感動😅:

最終的 code 如下:
import subprocess
from flask import Flask, request, send_file


app = Flask(__name__, static_folder="/path/static_folder")

def convert_to_unicode_ranges(string):
    # Initialize empty list to store unicode ranges
    unicode_ranges = []
    # Iterate over each character in the string
    for char in string:
        # Get the unicode code point of the character
        code_point = ord(char)
        # If the code point is in the ASCII range, add it to the list as is
        if code_point < 128:
            unicode_ranges.append(f"U+{code_point:04X}")
        # If the code point is outside the ASCII range, add it to the list as a range
        else:
            unicode_ranges.append(f"U+{code_point:04X}-{code_point:04X}")
    # Join the list of unicode ranges into a single string
    return ",".join(unicode_ranges)

@app.route("/api/webfont")
def generate_webfont():
    # Get the font and text parameters from the request
    font_name = request.args.get("font")
    text = request.args.get("text")

    # Map the font name to the font file path
    if font_name == 'test1':
        font_file = 'test1.ttf'
    elif font_name == 'test2':
        font_file = 'test2.ttf'
    else:
        return 'Invalid font name', 400

    # Convert the text string to unicode ranges
    unicode_ranges = convert_to_unicode_ranges(text)
    # Set the command and arguments
    command = "pyftsubset"
    arguments = [
        f"{font_file}",
        f"--unicodes={unicode_ranges}",
        "--layout-features=*",
        "--flavor=woff2",
        f"--output-file=test.woff2"
    ]

    # Execute the command
    subprocess.run([command, *arguments])

    # Return the subsetted font file
    return app.send_static_file("test.woff2")

if __name__ == '__main__':
    app.run(port=xxxxx)
注意修改 static_folder 和 app.run(port=xxxxx)。
Client-side Javascript
Server 端算是OK了,那接下來開始問 ChatGPT 去寫一個用戶端 Javascript,由於前面被坑慘了,這次先從最簡單的開始:
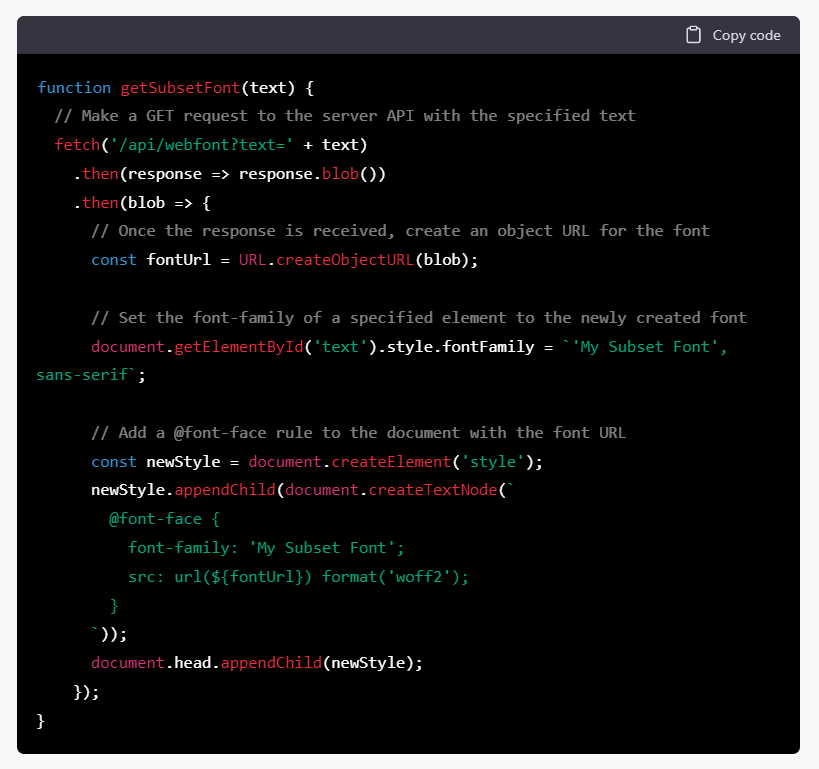
看起來應該可以工作,於是開始讓他加上根據特定 font-family 去提取頁面上的全部字符再進行 url encode 等,還讓它寫了一個測試用 HTML,然後就再次被坑了…
第一個坑是沒有任何 request 發出到 API Server, 原來是它寫好了 JavaScript 的 function 但是沒有調用,OK 我自己加上; 然後發現 因爲 CORS 被瀏覽器阻止了,它給出的 Nginx 設定 code 倒是沒有任何問題: 
解決了 CORS 問題之後 Server 上顯示 text 一直爲空,看來 JavaScript 在提取文字時又出問題了;
繼續找它 debug 它倒是貼心地給每一步加上了 console.log 但問題是從一開始的 let elements = document.querySelectorAll("[font-family='test1']"); 就一直爲 0 ,看來是什麼都沒有提取到了。 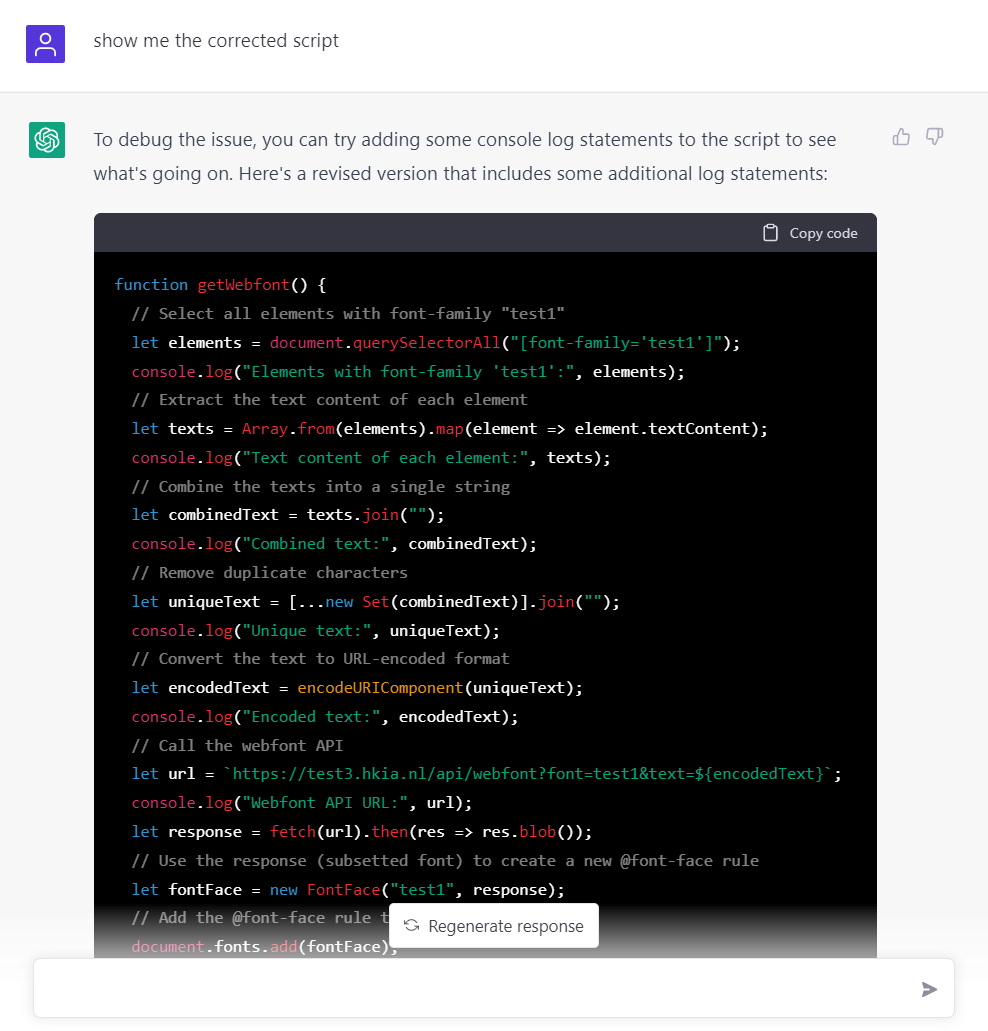
一來二去找它改了好幾次 code 但還是提取不到對應的文字:
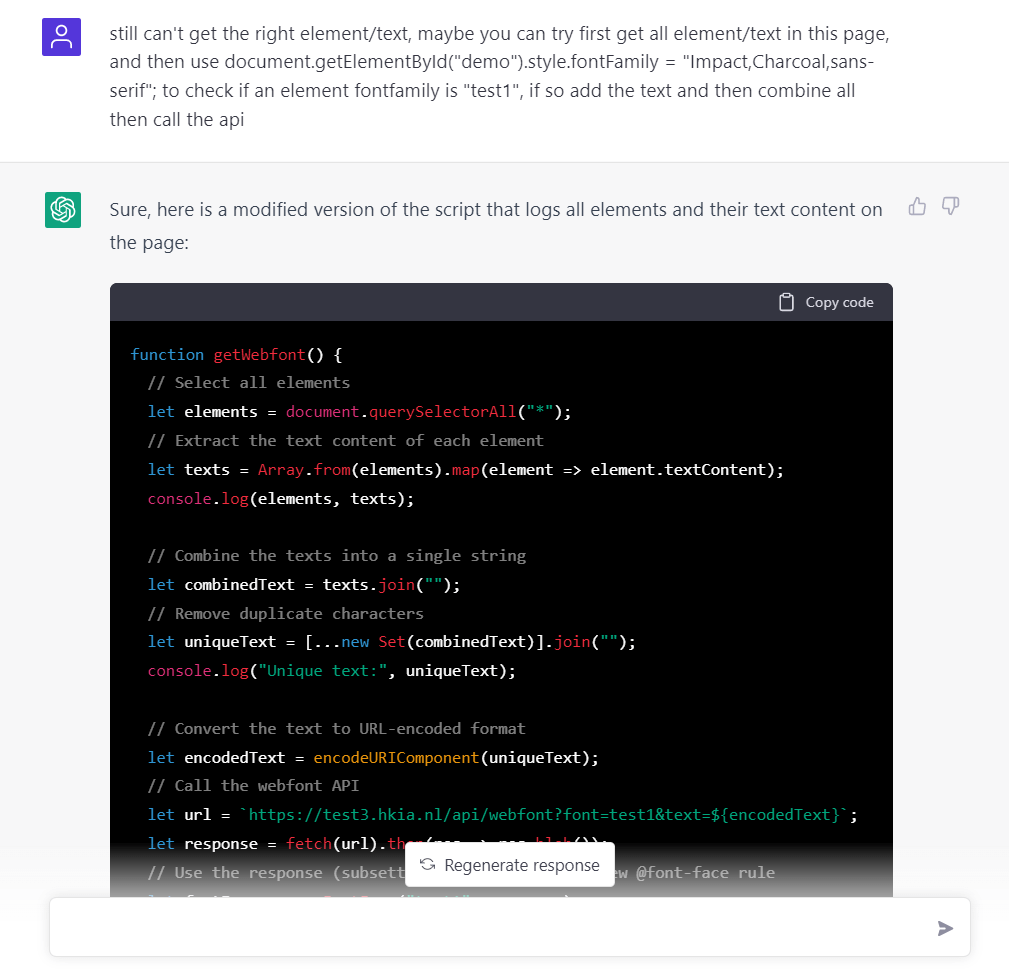
真的要放棄了,看來這次又以失敗告終,於是只好自己 Google 再找它來重新寫:
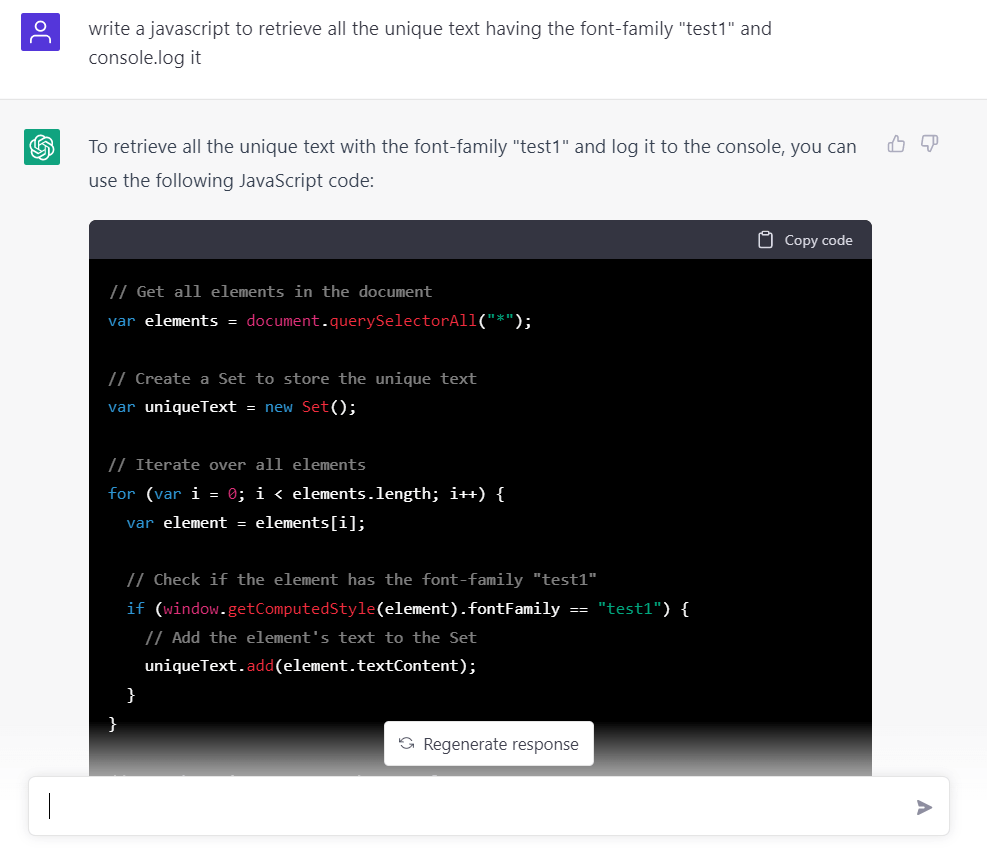
重開一個 chat 再換個方式之後,這次寫出的 code 可以工作了,起碼可以正確地找到文字了。
然後讓它去掉重複字符,加上 URL encode,再加上 API 的 endpoint,一步一步,小心翼翼,總算是沒再出 bug 😂
最後一步讓它用 API 返回的 woff2 創建一個新的 @font-face,爲了再避免出新坑,給了它具體的 @font-face:
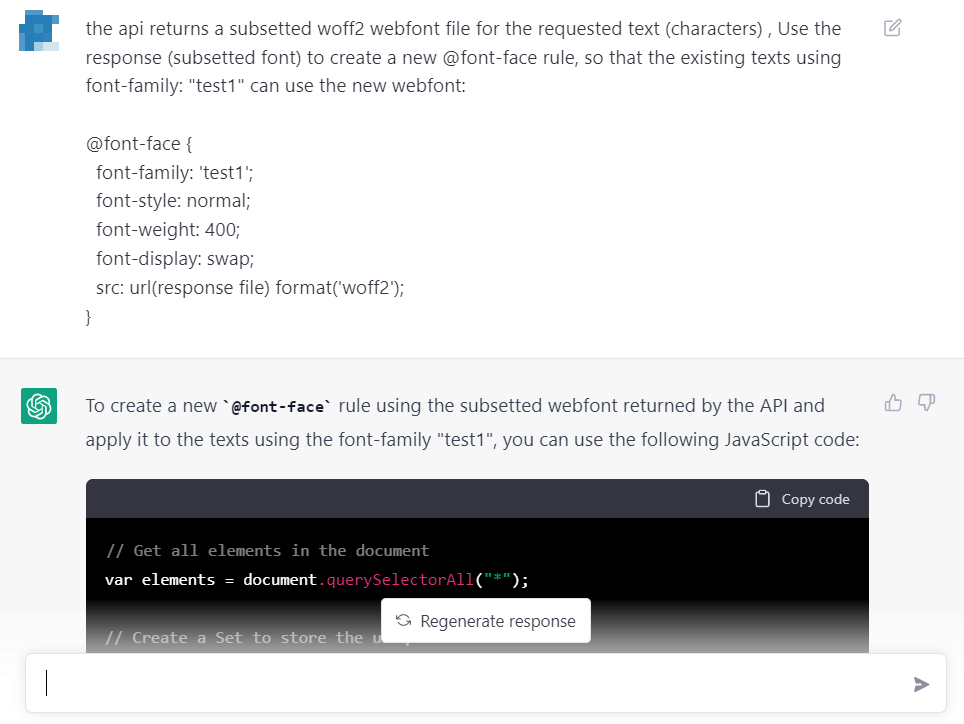
OK,終於搞定,最終的 Script 如下:
// Get all elements in the document
var elements = document.querySelectorAll("*");

// Create a Set to store the unique text
var uniqueText = new Set();

// Iterate over all elements
for (var i = 0; i < elements.length; i++) {
  var element = elements[i];

  // Check if the element has the font-family "test1"
  if (window.getComputedStyle(element).fontFamily == "test1") {
    // Add the element's text to the Set
    uniqueText.add(element.textContent);
  }
}

// Combine the unique text into a single line string
var text = Array.from(uniqueText).join(" ");

// Remove duplicated characters from the string
var result = "";
for (var i = 0; i < text.length; i++) {
  if (result.indexOf(text[i]) == -1) {
    result += text[i];
  }
}

// URL encode the combined and deduplicated text
var encodedText = encodeURIComponent(result);

// Call the webfont API with the encoded text
var apiURL = `https://example-domain.tld/api/webfont?font=test1&text=${encodedText}`;
fetch(apiURL)
  .then(response => response.blob())
  .then(blob => {
    // Create a URL for the webfont file
    var url = URL.createObjectURL(blob);

    // Create a new @font-face rule
    var newFontFace = `@font-face {
      font-family: 'test1';
      font-style: normal;
      font-weight: 400;
      font-display: swap;
      src: url(${url}) format('woff2');
    }`;

    // Create a style element and append the @font-face rule to it
    var styleElement = document.createElement("style");
    styleElement.innerHTML = newFontFace;
    document.head.appendChild(styleElement);
  })
  .catch(error => console.error(error));
注意修改 example-domain.tld。
後續
Nginx 設定可以參考下面來添加 CORS Policy:
...

    add_header 'Access-Control-Allow-Origin' '*';
    add_header 'Access-Control-Allow-Methods' 'GET, POST, PUT, DELETE, PATCH, OPTIONS';
    add_header 'Access-Control-Allow-Headers' 'DNT,X-CustomHeader,Keep-Alive,User-Agent,X-Requested-With,If-Modified-Since,Cache-Control,Content-Type,Content-Range,Range';
    add_header 'Access-Control-Expose-Headers' 'DNT,X-CustomHeader,Keep-Alive,User-Agent,X-Requested-With,If-Modified-Since,Cache-Control,Content-Type,Content-Range,Range';

    location / {
        proxy_pass http://localhost:xxxxx;
		}
...
最後問它隨機寫了一篇1千字左右的文章來測試,由下面的截圖可以看到似乎時間有些過長,看來這份 AI 協助創建的原型還有很大的進步空間(笑)。 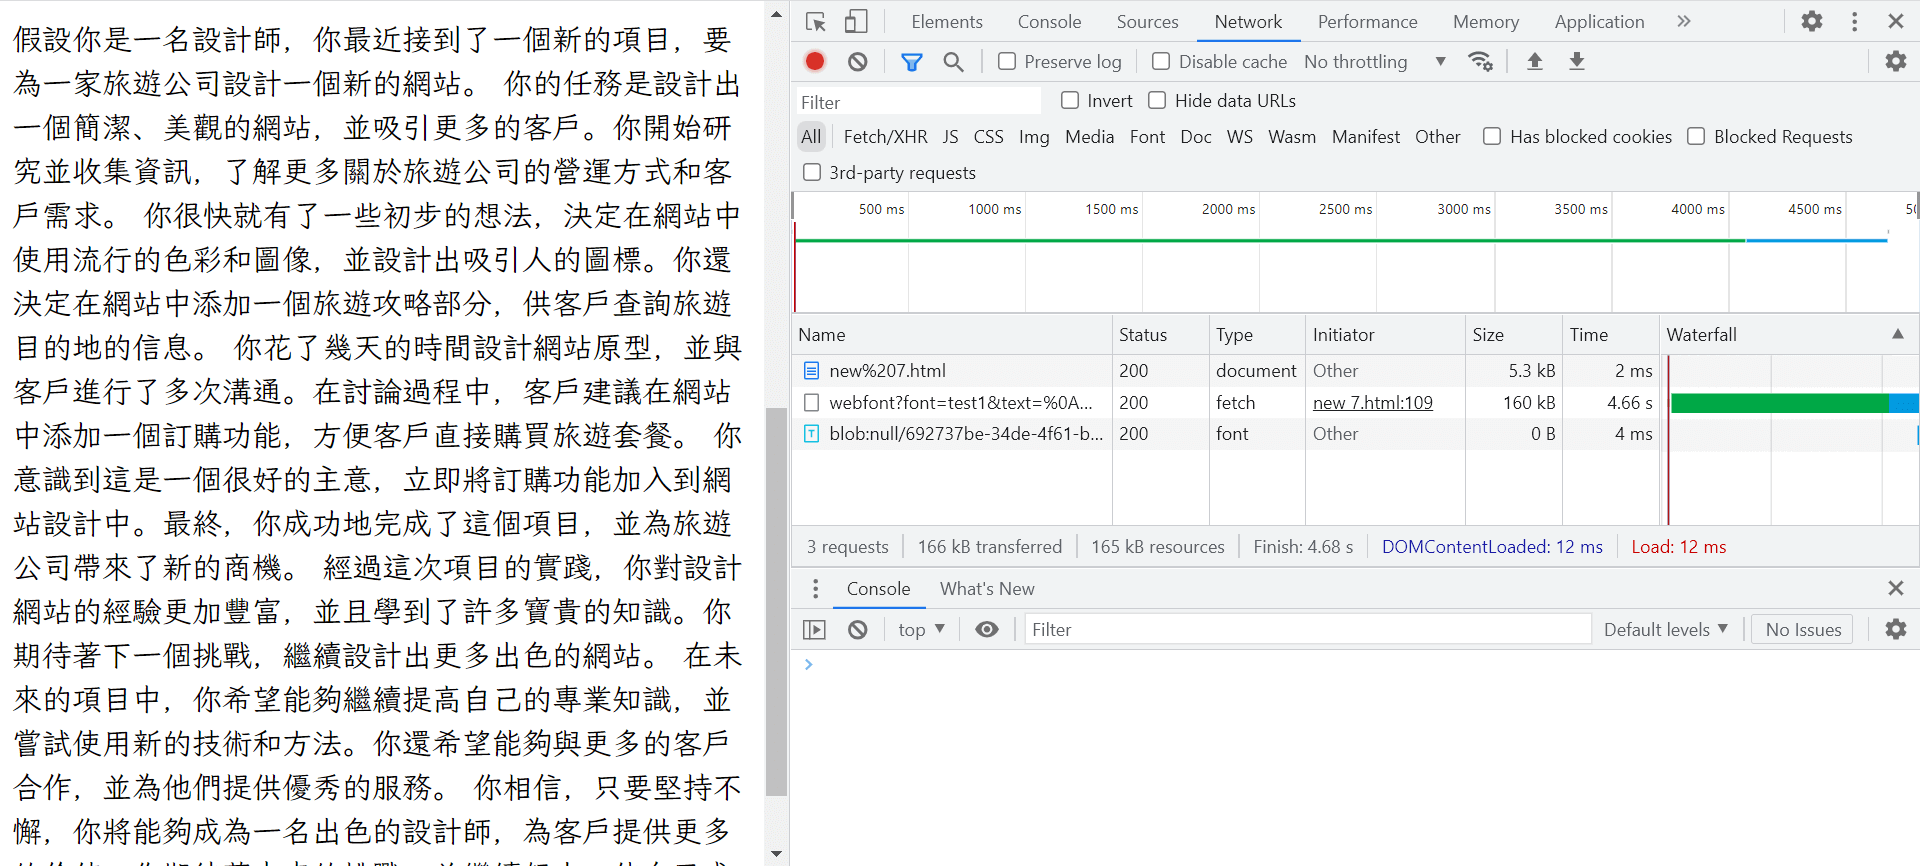
總結
Server-side
- 使用 flask 去執行 Python app
- 獲取 URL 中的 font 作爲 input 檔案
- 獲取 URL 中的 text 並轉換爲 unicode_ranges
- 執行
pyftsubset input_font_file --unicodes="unicode_ranges" --layout-features="*" --flavor="woff2" --output-file="output.woff2" - 返回 output.woff2
Client-side
- 使用 JavaScript 去獲取對應 font-family 的全部文字
- 將文字去除重複字符並 URL encode
- call API, 獲得 output.woff2
- 使用 output.woff2 建立新的 @font-face
- 文字使用 output.woff2 進行顯示
ChatGPT Coding Experience
總的來說對於非專業人士還是會很有幫助,可以助力將想法更輕鬆地實現。比如對於一些常見的情景, 即使完全沒學習過的語言也可以由 AI 輕鬆地產生相關 code 來利用,可以大幅提升效率和節省學習時間。但並不能百分百依靠它,需要一定的 coding 常識去 debug。
看起來指令越具體和明確效果就會越好,太抽象和 high-level 的指令可能反而會浪費更多的時間,step by step 去教它也許會有意想不到的收穫。此外對於 Python 這種常見的程式語言出現錯誤的機率似乎會少一些,但涉及到具體的 library 就不好說了(有可能它的知識本身就是錯的)。雖然可以一定程度進行 debug 但不要太相信它(即使它每次都很有自信),還是需要自己多動手去找答案(stackoverflow是個好網站)。
雖然它給你的 code 中可能處處埋雷,但如果調教得好也會是一個得力的助手 ;) ■